Terraced cottages
We decided we wanted to add to the little hamlet of Lavender Hill and was looking for a quick solution when we were offered a few sheets of polystyrene. Mr F Controller was not impressed by it and voiced his reservations but Mrs F Controller went ahead anyway! So after researching for some designs and techniques we went for the plain and simple One up One down design for the cottages and the Go for It technique!
The 4 big main sheets were measured and marked out for the general idea of where the doors and windows were going to be and the holes cut out for the windows while the sheets could still be flat and easier to cut.
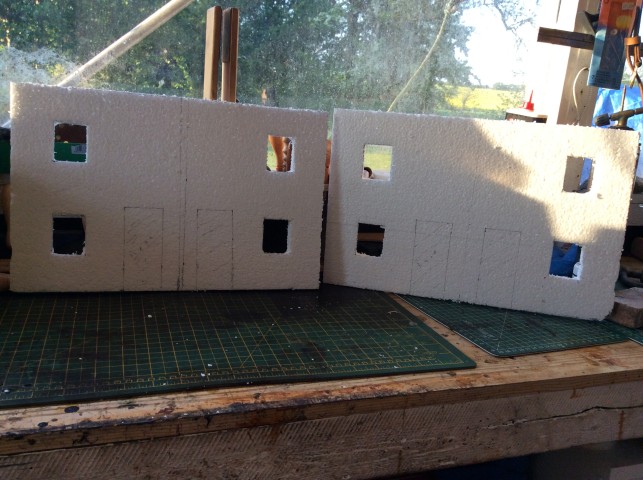
Windows cut and doors marked out.
The first bits to be put together were the two end walls as these were the thicker pieces of polystyrene from some packing.The actual size of the cottages was dependent on the size of sheets we had. These ends were first pinned with toothpicks and glued together with No More Nails.
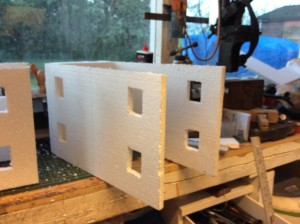
Fitting 3 walls together
Fitting the 2 halves at first seemed to be tricky but in the end you start to realise that working with this material is a bit of a doddle as any mess you make of putting them together is going to be hidden by the ‘rendering’. The trickiest bit is keeping it all square and sitting on its ends flat. So inside the building there is a large flat strip of polystyrene holding the two halves together again by the pinning and glue method.
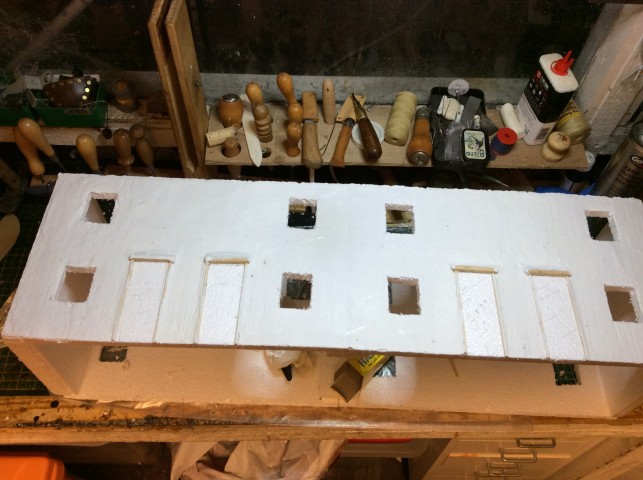
All 4 walls glued and the 2 halves joined.
You can see from the photo above that I have also added door surrounds. At this point it is still a bit unwieldy and can easily be rocked from side to side so we decided to add some strengthening struts to reduce the movement and cantilever effects.
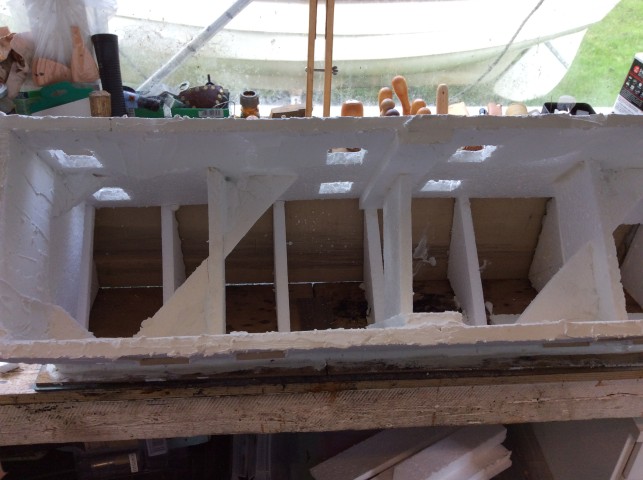
extra pieces of polystyrene added for strengthening
In the photo above can be seen the rendering has been added on the inside. We used a waterproof bathroom tile cement on the bottom and up the walls to add weight and to protect it when sitting outside. This was exactly the same stuff we used on the outside too before we added the window frames. The windows we used were from Jacksons Miniatures and were a mixture of the Victorian 4 pane and 6 pane windows left over from a previous project. You just have to be careful that you haven’t filled up the hole with too much render!
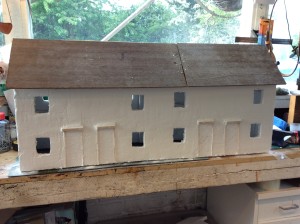
Roof base glued in place and outside rendered front and back
Now is the time to paint before adding the windows, here we used masonry paint! It’s made for the outside and has a slight texture to it and it comes in various colours in handy match pots!
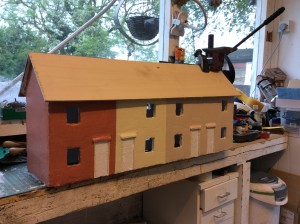
Before we put the windows into place Mrs F Controller carefully painted in the various curtains and blinds on the inside of the window panes.
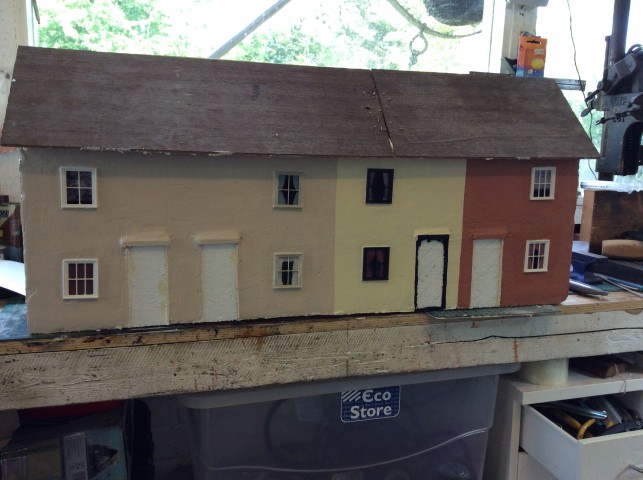
The window frames were painted before being inserted into place
We decided not to use the doors that Jacksons do due to cost and also they would not have been right for the job so we decided to make our own in true MPLR style! We made up a template of the style of door we wanted out of plasticard and made a mould to cast them out of resin. It took a couple of attempts to get the mould right but we were happy in the end. All the doors on the fronts have letterboxes and the back doors do not!
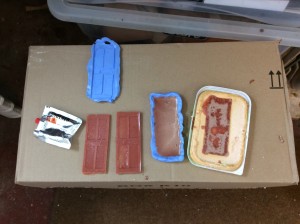
2 types of moulding material.Polyester resin
The doors were recessed to give the impression of being within the walls and a ‘doorstep’ added to fill the gap at the bottom. Previous to being glued into place they were painted whatever colour the occupants requested! Plastic sheeting of tiles were glued to the wood base and a few downpipes and guttering added. Hey presto a set of terraced cottages!
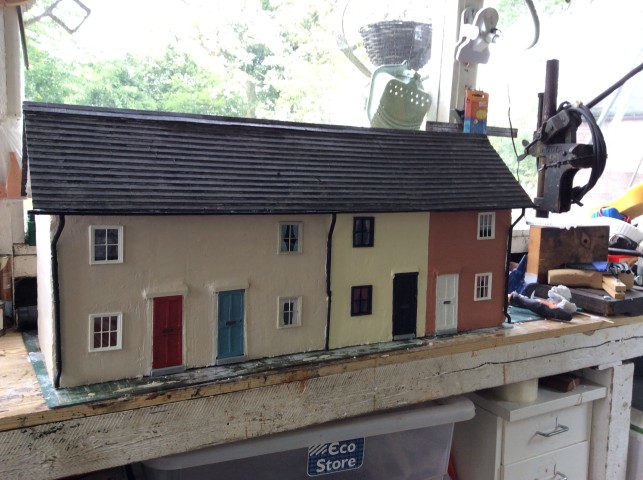
All it needs now is some chimneys for all those Parkray fires and a position in the hamlet.
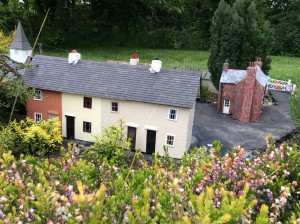
Back of the terrace
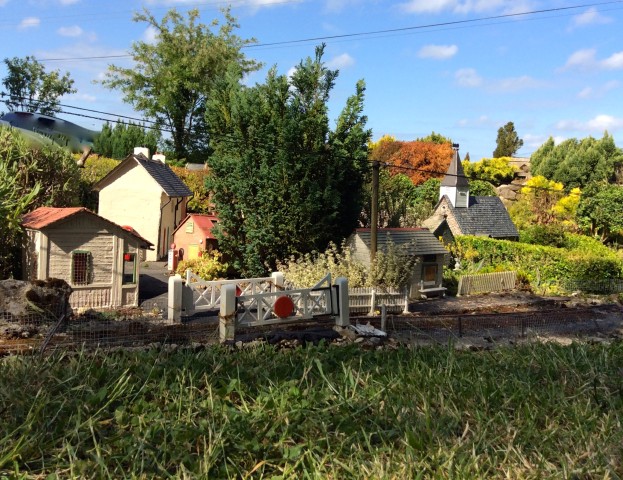
The hamlet of Lavender Hill
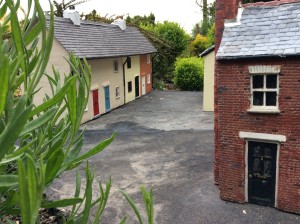
Front of the terrace