Table and Benches
As yet, the MPLR doesn’t have a pub but it does have a cafe (the Pitz Cafe) and so Rene Carbonet decided this year he wanted to have some of those new-fangled table and benches! You know the ones, you have to heave your leg over the bench and then there’s that annoying bit of wood in the middle that you end up straddling or squeeezed up against. They are incredibly uncomfortable because the seat is never wide enough and it’s awkward for ladies if you are wearing a skirt! Well, a couple of them seemed to be what Rene needed so we had to make them.
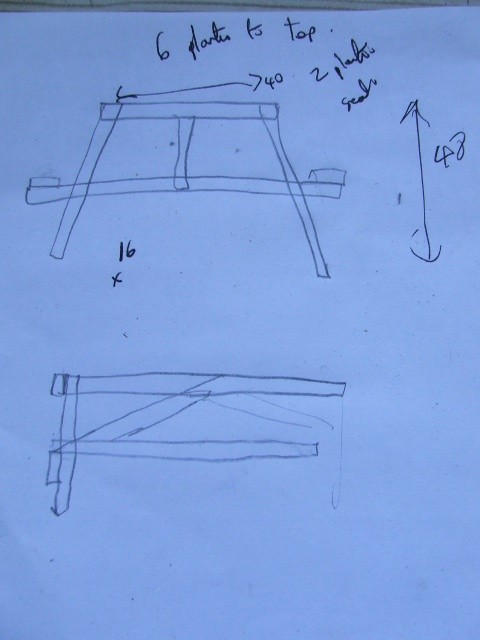
To be honest it wasn’t hard, only a couple of tools needed and sadly not that many coffee stirrers either! But, we had a pleasant afternoon making them while trying not to get too sunburned while weeding. So here goes, first draw a little plan so you know how you are going to make them.
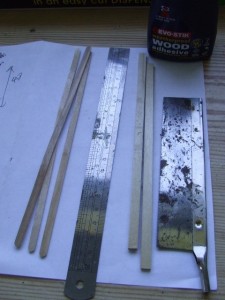
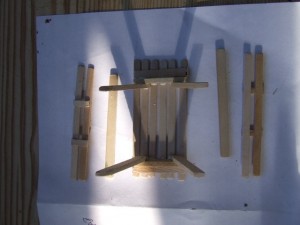
Then we set out all the things we needed……
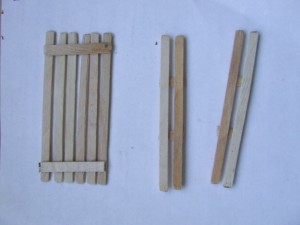
Also used some sandpaper to clean things up a bit, after all we don’t want the customers complaining of splinters! Right, now we can start, first we need to make the table, we used 6 ‘planks’ for the table but it depends obviously on the size of your strips of wood/stirrers. Anyone done a survey on which stirrers are best Costa or Starbucks? While we were at it we made the bench seats too. Now, I am sure that you will measure them all properly so that everything is even and straight, in fact with hindsight we should have done too!
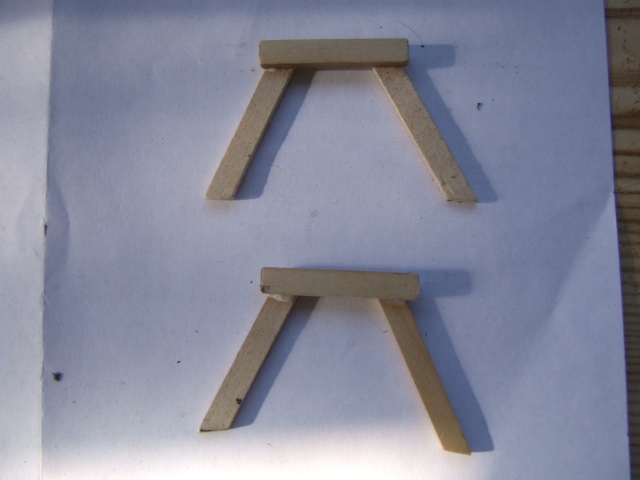
Seriously, it would make your life a whole lot easier if you make sure that everything is straight, especially for the next bit. Having cut the legs (angled at both ends) you then need to make an A frame of them. We did this with the slightly thicker wood to make it look more realistic also it is easier to work with.
The next bit we found the trickiest, because the angles of the legs were just done by eye (not a good idea) and now we were going to find out if it was level or not! We glued the A frames to underneath the table by the table ‘supports’ just to give a bigger glueing area. Then turned it upright to check if they were level, generally no they weren’t. So a bit of an adjustment was needed before the glue set. We are sure you will find a better way.
Cut yourself some 2 more lengths of the thicker wood to make the bench supports, these are glued at the ends of the table about half way up the legs, and also long enough to glue the bench seats on.
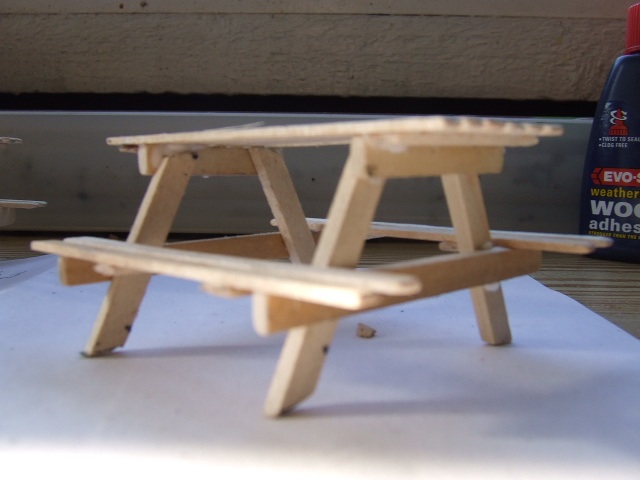
 As you can see from the photo the supports weren’t straight or even to start with so we didn’t have a lot of hope to get it sitting level. But, a little bit of fettling and it was good enough.
We have found that clothes pegs work really well as mini clamps! When the glue is completely dry then you can glue the seats on making sure that they are even and in line with the table of course.
We decided also to add an additional support across the centre from underneath one seat to the other and a centre support vertically from this to the underneath of the table top. The original plan showed angled supports, but as these had proved difficult earlier we opted for this method.
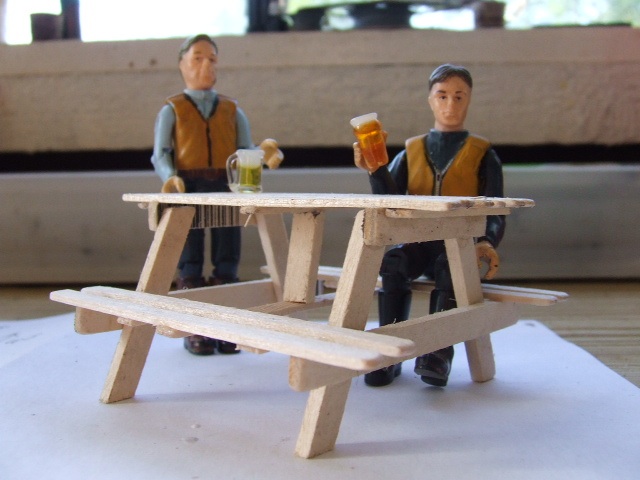
Well, that’s it apart from a bit of wood preservative when all the glue is dry. Anyone fancy a beer?
