Ladders…
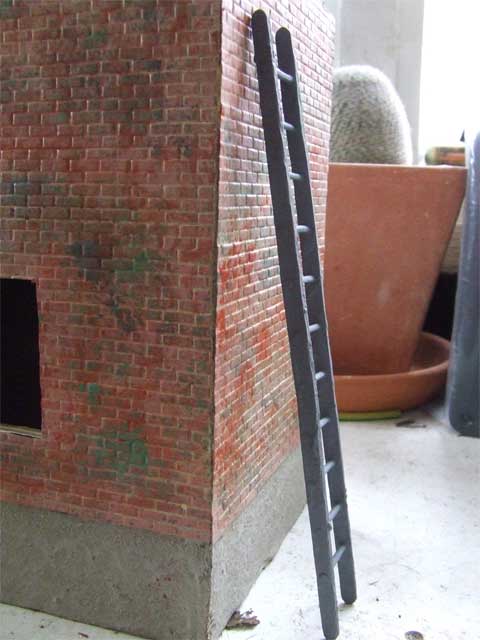
There comes a time, when you are making a building or as in our case a new water tower, when you realise that your ‘staff’ have got to be able to get to the top of their new tower, building etc by some form of steps or ladder. Having searched for suitable ladders of the right scale and length we came to the conclusion we would just have to make one. The original water tower did have a perfectly good ladder that we made but we wanted something a bit more substantial and one that was ‘purpose-made’ and permanently attached to the water tower. So these pages are going to show how we did it.
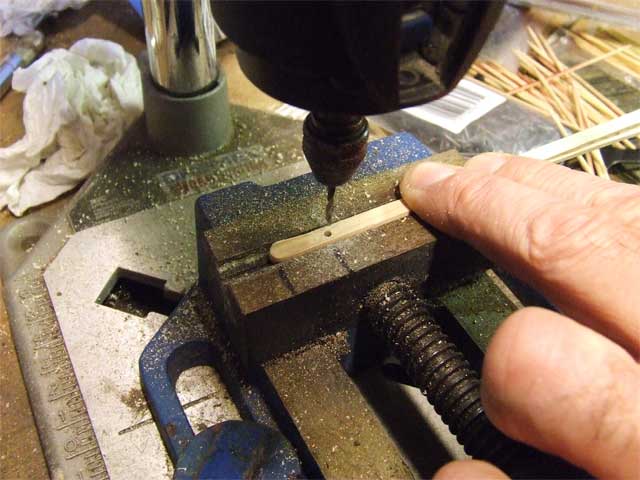
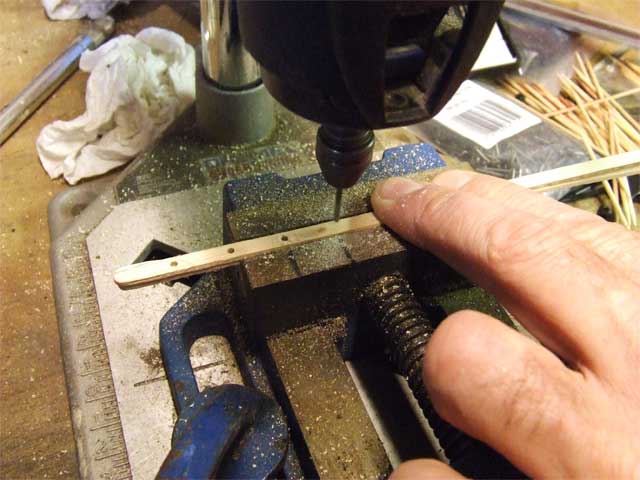
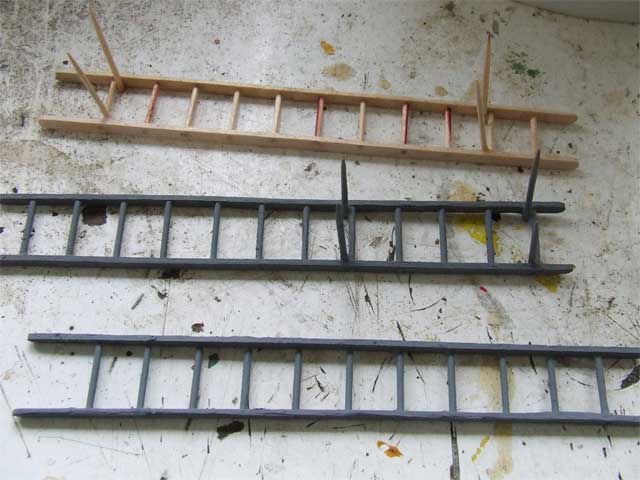
Where we would be without our little Dremel and of course, lots of those coffee stirrers! The only other thing you need is some decent cocktail sticks and hey presto you have the ingredients for a wooden ladder. So, first drill your holes to ‘fit’ the rungs of the ladder into.
We actually decided to drill 2 sticks at the same time in hopes of being to align the holes better. It seemed to work as an idea pretty well, but make sure you don’t mix them up or turn them over!
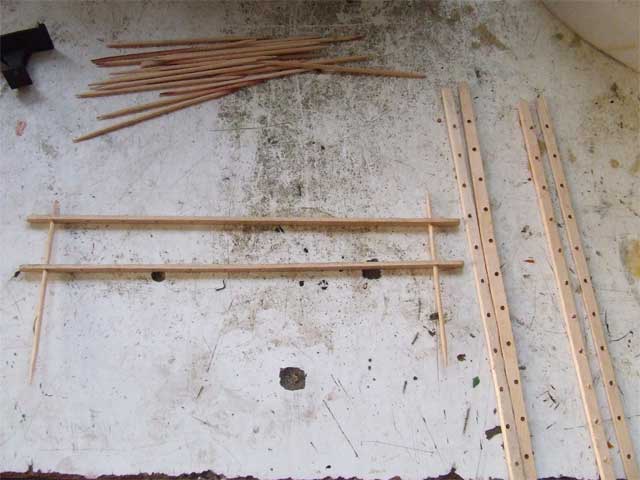
Having drilled your holes, the next bit is easy by fiddly. Push the cocktail stick in for the ‘top’ and ‘bottom’ rungs first and adjust your ladder width with these, it is a good idea to keep something handy as a guide to this so you don’t get carried away getting a wider and wider ladder!
Just keep pushing the sticks in and glueing as you go, the extra lengths can be cut off in a moment when the glue is dry.
Having cut off the extra and given them a good sanding at the edges, a quick lick of paint and you have a perfectly good ladder….
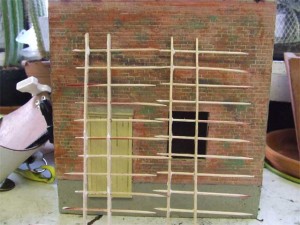
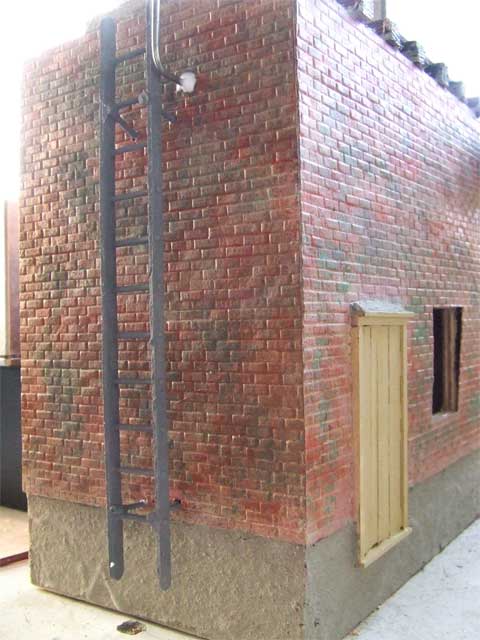
But, we did say we wanted it fixed to the building and so there is a bit more work to be done. Before we painted we glued some ‘wall supports’ on to a couple of the ladders. These are so the ladder stands proud of the wall (so the men can get their hands round the ladder and boots through the rungs) and then they were finished off….
Lastly, we drilled holes in the building wall in line with the supports and very carefully slid the supports in until the ladder stood away from the wall at the required distance. Neat eh?!
