Kerr Stuart 4415
There comes a time when every railway needs a ‘new’ diesel and this was the time. By a small rebuild of ‘Noel’ we happened to find ourselves with a spare chassis and motor, perhaps there’s another web-page there! Although we have kit bashed a few kits, apart from ‘Basil’ the track cleaner, we had never made a scratchbuilt model of a prototype before and the idea of building a model of a Kerr Stuart 4415 just seemed to be the obvious choice. If the weather this summer was better it probably would not have got built so quick! So this page is all about the building of ‘Max Cole’.
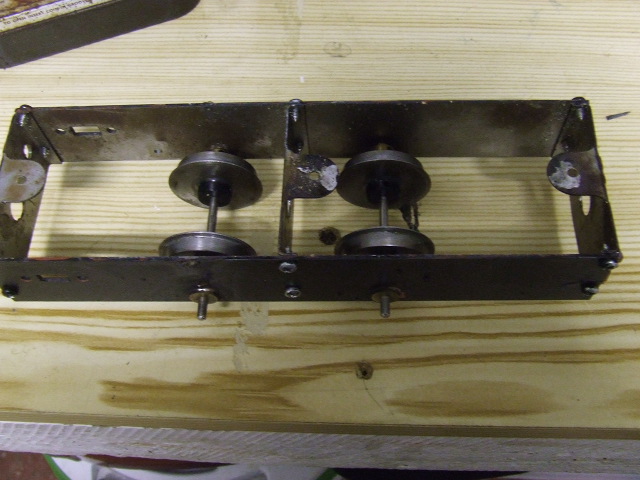
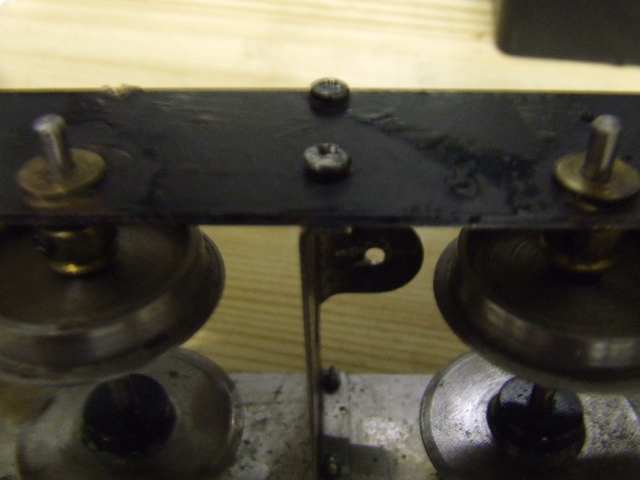
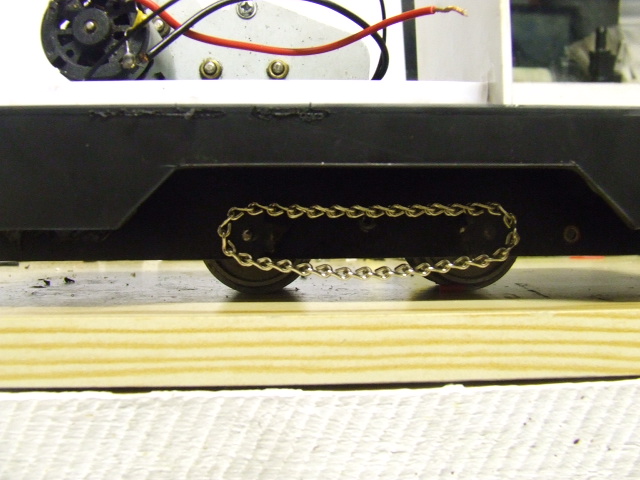
First take one used chassis and wheel sets and do a bit of fiddling! From the start, it was going to be chain driven so the shafts needed to be held in position somehow without being able to slide from side to side. The quarters were taken apart and the bosses removed from the middle then slid back onto the shafts and positioned as ‘spacers’ between the wheels and the inside of the chassis. This left the shafts still protruding from the outside of the chassis to enable the chains and sprockets to be fitted to them.
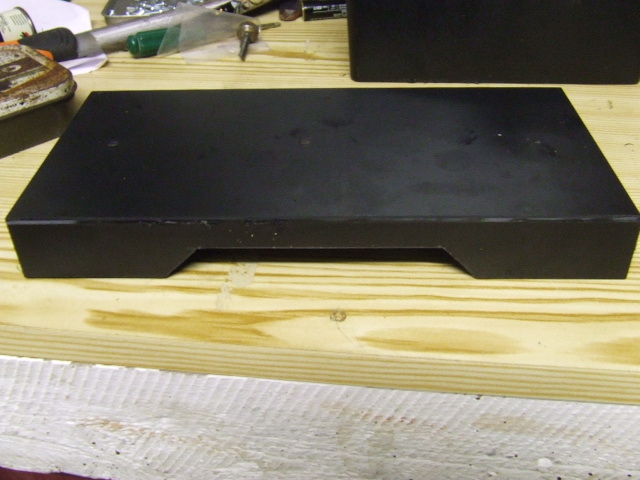
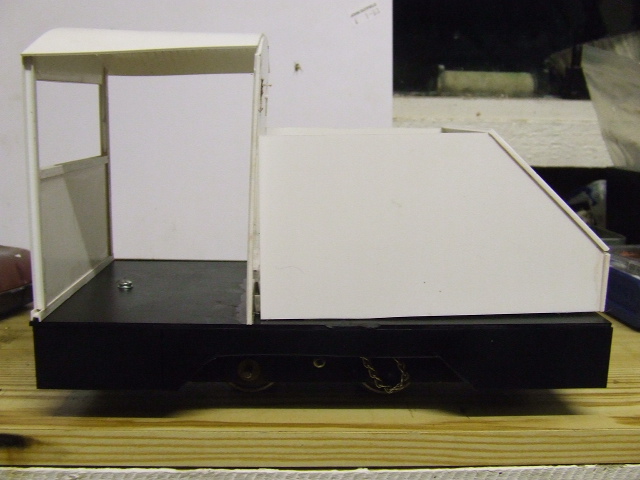
The body was made and cut entirely from PlastiKard, so the next bit was to decide on the measurements. We had a done a little bit of research on this and decided that our loco needed to fit our railway and so we haven’t included all the measurements and patterns for the body! It is a fairly simple shape to do so we had to have a base to build up the motor on and produced this as in the photo below.
We had never used Plastikard before and were very pleasantly surprised on how easy it was to cut, shape and using the correct ‘glue’ cement together. We used one which came in a small bottle and named very aptly ‘Plastic cement’. You just put your two bits together that you want to join, dip a paintbrush in the liquid (it is very runny), and brush it along the join. It is so runny that it uses capillary action to seep between the joints, melts the two parts and hey presto it is joined! Almost that quick! Fantastic stuff can’t recommend it highly enough. So having got the base we then screwed it to the chassis and the fun really began.
We had a spare motor as we said before but no gearbox so in the usual MPLR fashion one was ‘salvaged’ from an old radio-controlled Heng-Long tank and fixed to the base. then the motor was attached and Mr Fat Controller set about working out how the chain drive was going to work. Meanwhile, Mrs Fat Controller had to wait until the working parts were in position to know how big to make the bonnet of the cab!
Once the motor was in position it wasn’t long before the chain drive was in place as can be seen in the photo above and below.
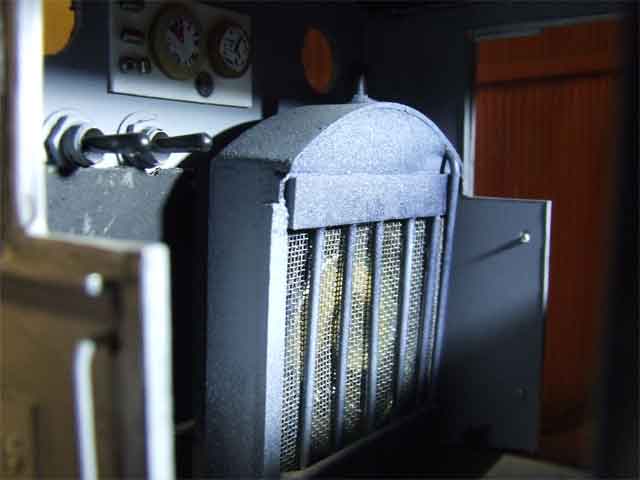
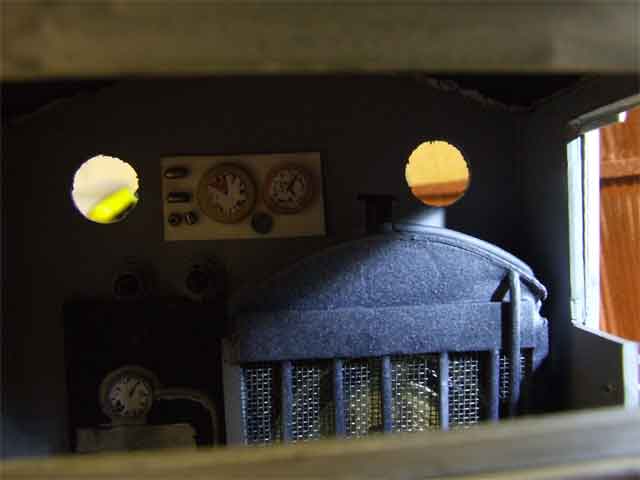
 A soundcard was purchased from Acme Engineering and it was decided that it would fit just behind the spectacle plate with the speaker hidden inside the ‘radiator’ which was inside the cab in real life!
By this point the body panels had started to be put together and Mr and Mrs Fat Controller were fast becoming huge fans of the way Plastikard could be worked. It is a strange thing but once all the body panels had been cut out the whole thing started to come together very quickly as it was a case of cement the bits together then smooth to shape and hey presto it is finished before you know it!
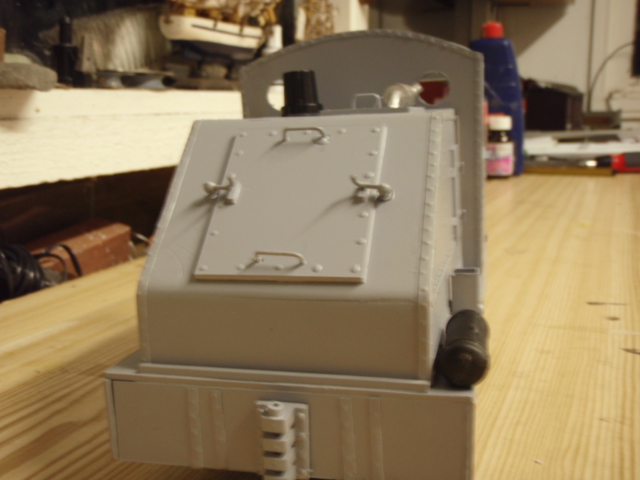
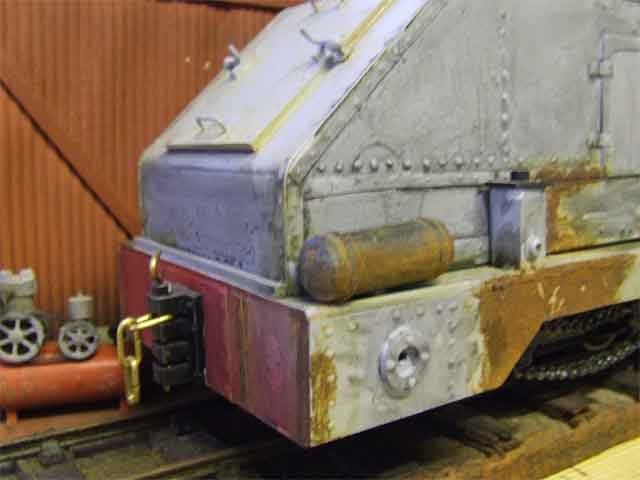
The main worry had been the angled curve on the front of the body as we could not work out how to bend it so evenly. In the end two pieces were roughly joined at the desired angle and then small pieces were fitted in to give enough material to be sanded away to form the smooth curve. In this way actually it is quite forgiving as any mistakes or gaps can easily be ‘filled’, the same with rough edges, just smooth them off ’til you get the desired look! Unfortunately we don’t seem to have any photos of it at this stage, we appear to have gone straight onto the ‘dressing up’. So here is a photo of that front angle finished off but not painted!
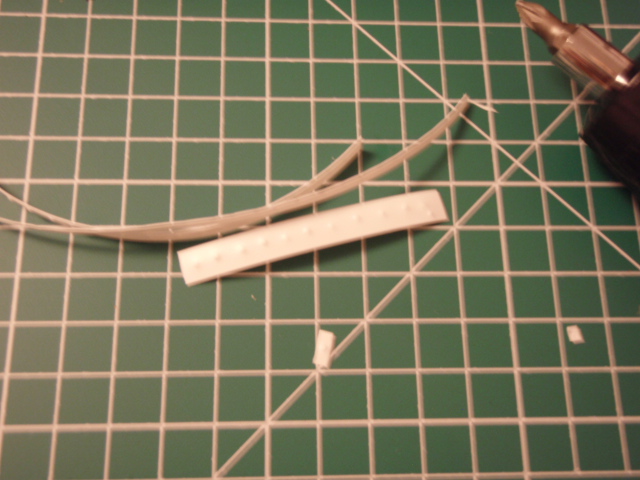
Fitting all the batteries in was a bit of a nightmare too as we did not want to have to take the bonnet off too often to change the batteries. It is only made of Plastikard anyway and we couldn’t be too sure of how strong it was. There are 2 sets of batteries one for the soundcard and the other for the motor. In the end we had to compromise and put 2 9V batteries, which are in parallel underneath the chassis for the motor, and the others are under the bonnet for the soundcard. The switches are in the cab of course and they can just be seen in the picture of the radiator. The next step was to add all the bits to make it look a bit more realistic ie all the rivetting! Contrary to popular belief Mrs Fat controller did NOT count them all! But a lot of heartache went on as to how, where and how many. Hopefully she got it about right. There were 2 methods used, which can be seen in the photo above. The ‘strip’ method, ie cut a thin strip of very thin card and basically get something pointy and press it into the strip at regular intervals, easy eh! These strips can then be put on where needed without too much fiddling.
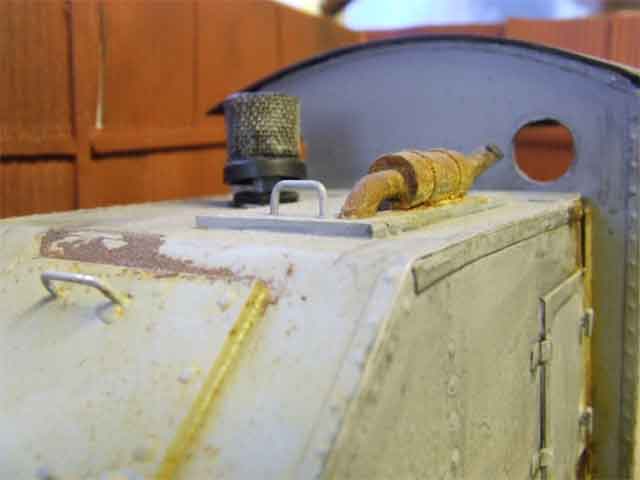
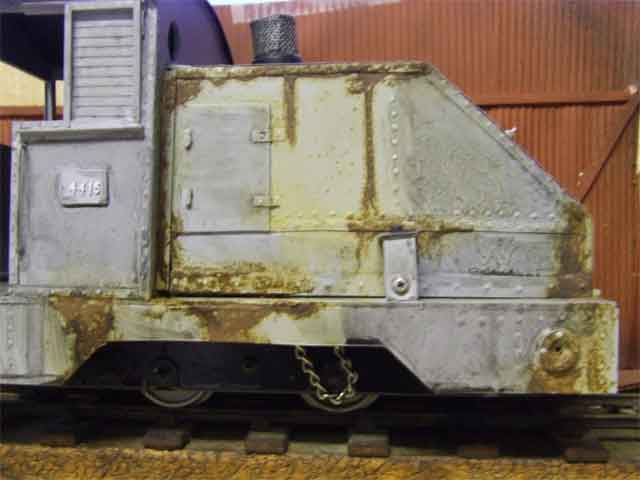
The second method was even easier, if a little fiddly. Work out where you want your rivets or bolts, lay whatever it is you are working on flat then get some thick PVA glue (we actually used a weatherproof wood glue) and with a cocktail stick just drip on a tiny amount of glue! As long as the glue is thick enough it will just form a nice little blob, just repeat as many as you want. You will have to leave it flat for a few minutes while the glue dries and it will flatten sightly, then paint. The pictures below show both types of methods after it had been painted and ‘rusted’.
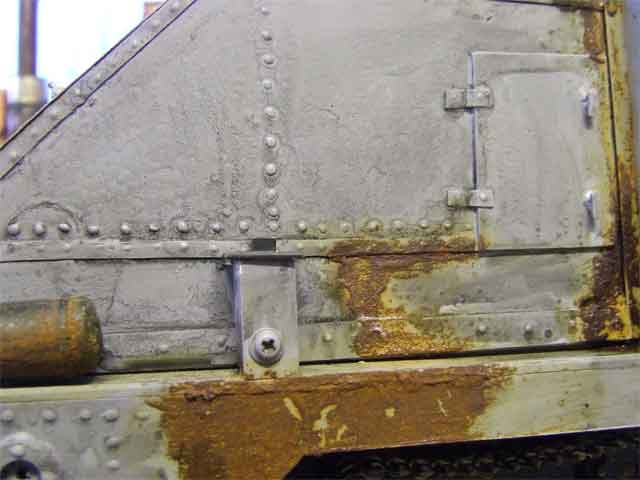 We think that both methods work very well together. The ‘door’ was just a thin bit of card cemented over the top and then we used some thin plastic covered wire for the handles. The rusting works very well here as it covers up a multitude of sins! We had already decided that this particular model was going to have a ‘used’ look and the instant rust worked brilliantly. So that’s about it, apart from adding all the ‘dressing up’ bits and pieces which to be honest was the best bit! So here are a few photos of our new Kerr Stuart 4415 best details!
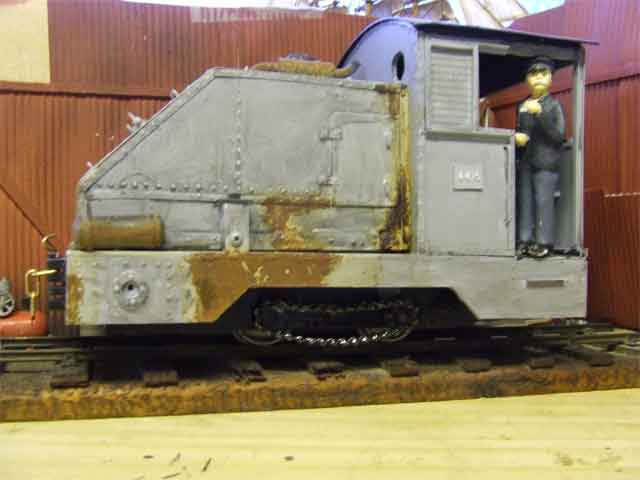
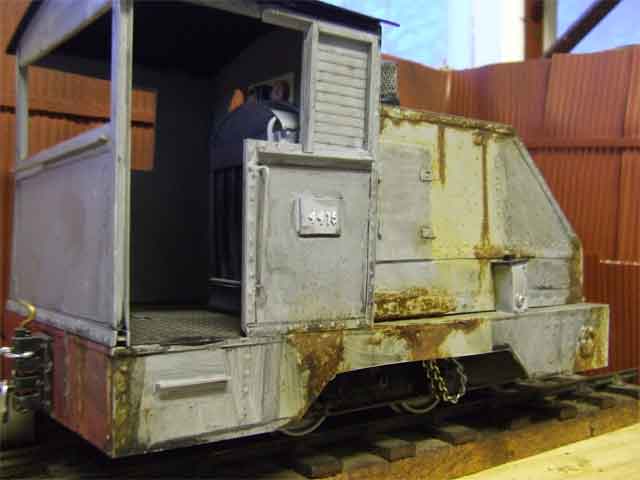 This lovely model is fast becoming our favourite loco, all the better for having made it ourselves. It may not quite be ready for the Model of the Year but we had a lot of fun making it!
