Gas Tank
Small gas tank.
Right then, here goes. Some time ago, No.2 Patrick was consigned to the workshops pending major work to improve his performance. The intention was to fit a PPS gas tank to replace the rather large one Patrick was fitted with. While the large tank worked well, there was a very real risk of running out of water before running out of gas, leading to nasty smells, burnt paint and so on. As it turned out PPS did not have any small tanks in stock so we set about doing a bit of research and below you can read the results. DISCLAIMER:- THIS IS WHAT WE DID, NOT WHAT WE THINK YOU SHOULD DO. WE ARE NOT QUALIFIED ENGINEERS, GAS FITTERS AND SO ON, JUST IDIOTS THAT PLAY TRAINS. IF YOU COPY US AND MEET WITH AN ACCIDENT THAT IS YOUR FAULT, WE ACCEPT NO RESPONSIBILITY AT ALL. YOU HAVE BEEN WARNED, GAS IS DANGEROUS, IF IN DOUBT, DON’T MESS WITH IT. Right, sorry about shouting but we do need to make that bit clear.
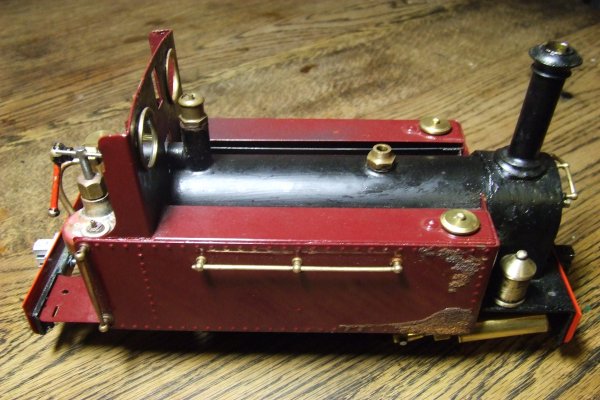
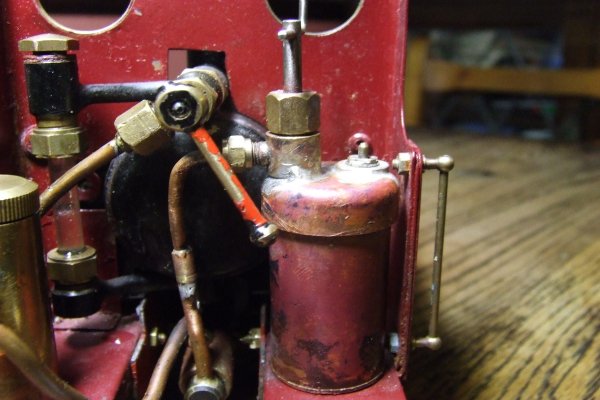
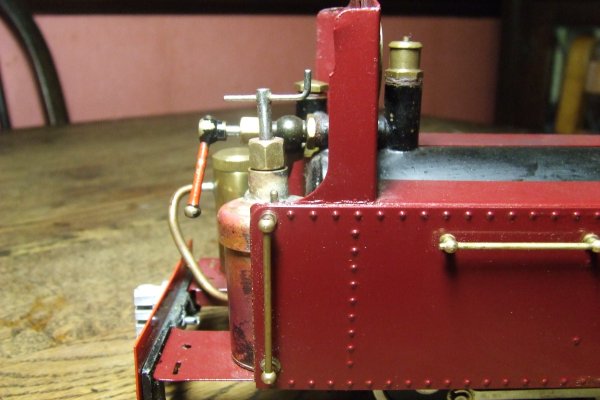
Above is a piccy of Patrick with the new gas tank fitted, I rather like the fact that it is so small and that it runs out of gas just before the boiler runs dry. Of course, more testing is needed to make sure this is the case and thus far it has only been tested on the rolling road in the workshops.
I do not intend to provide a course on silver soldering here. I used a company called CuP Alloys. Very helpful and first class service, they also do a DVD that explains everything. They can be found at www.cupalloys.com
Parts list:-
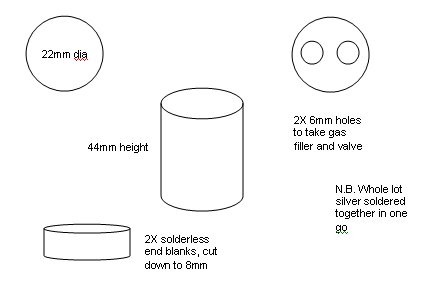
- 22mm copper pipe
- 2 stop ends (unsoldered type)
- silver solder and flux
- gas torch
- gas filler valve and fittings
- Cut your pipe to length (we used stock plumbing pipe from B&Q), using a pipe cutter to avoid burrs cut off about 44mm’s. If using a hacksaw you will need to dash about with a file to clean up the cut edges.
- Then cut down the stop ends to about 8mm or so.
- In one of the stop ends you will need to drill the holes to take whatever fittings you decide to use.
- Fashion two ‘rings’ of silver solder and insert into the tube, push well down so that they sit snugly into the stop ends.
- Apply plenty of flux paste.
- Braze the whole lot in one go, ensuring the tell tale ring of silver solder is clearly visible on every joint.


