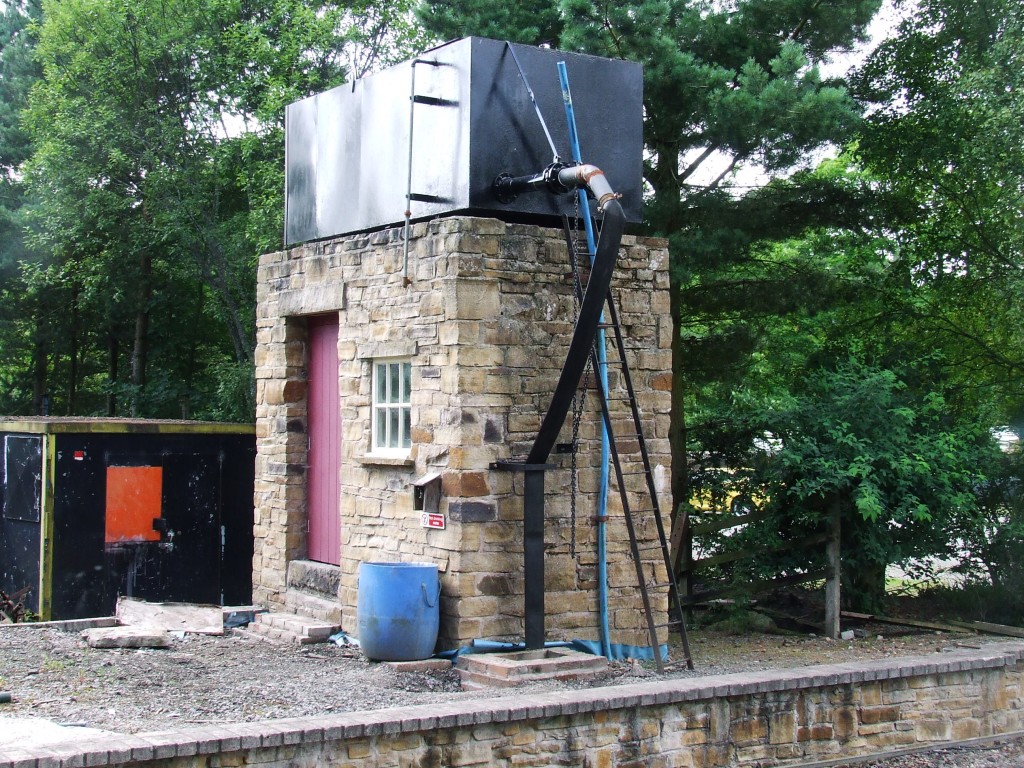
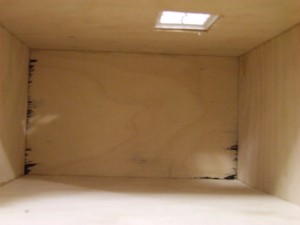
A new Watertower…
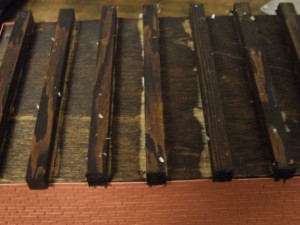
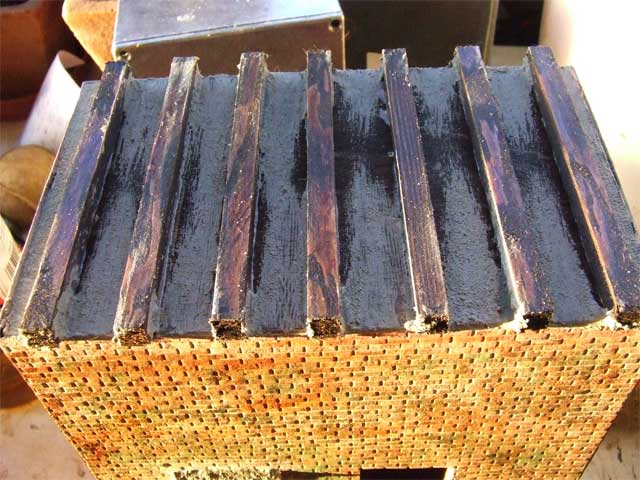
We then added some extra little touches, such as something for the tank to sit on (as it wouldn’t sit straight on the roof) so a few ‘railway sleepers’ needed to be put on the roof to support the tank. We just happened to have some offcuts of stripwood from some long forgotten project and a little Cuprinol on top (yes it is!) to weatherproof it a bit more and we are almost there.
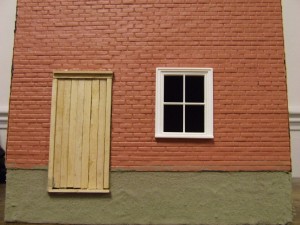
So, we have building (but no bricks or stone) water tank and support for water tank but it still needed some brickwork. Back in 2009, I made a nice little cottage from a kit which came with plans and all the bits barring the wood you needed to make it ie windows and doors, roofing tiles etc. I was very pleased with the effect and have been trying to track down where to get another one. I finally did, there is a lovely little website called Jacksons Minatures which sells plastic doors and windows of varying types and sizes, they also do sheets of bricking and stone. Although the original is stone, it would not really suit Essex so I decided on the red brick and ordered a window (obviously we had already received it before cutting out the hole). Again, glue is a bit of a problem and so we decided to try Sikaflex which according to my better half sticks anything and is weatherproof plus it is a lovely sticky black. So we will let you know how that manages in our lovely Essex weather.
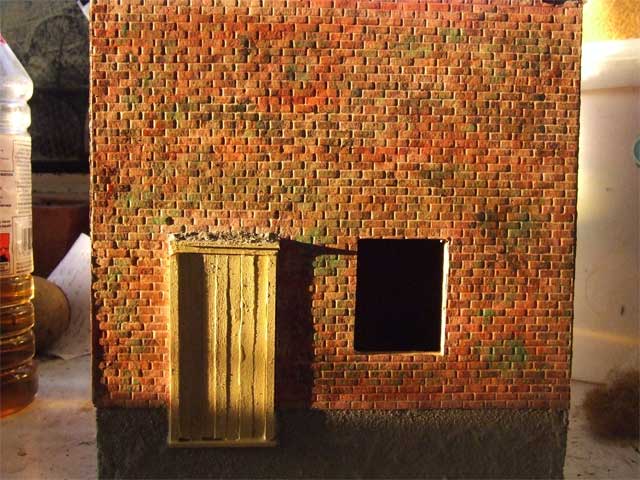
As the sheets are only a certain depth and my building is deeper, I decided to have a nice bit of rendering up to the dampcourse. Which is actually tile grouting for the fireplace so again we will let you know what happens here! You will note that I didn’t put a ‘proper’ door on, this was because I rather liked the look of the original door and besides I had a nice lot of coffee stirrers from one of the favourite coffee places.
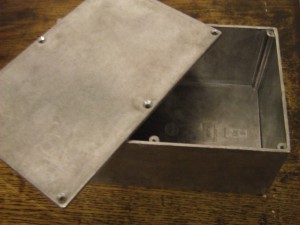
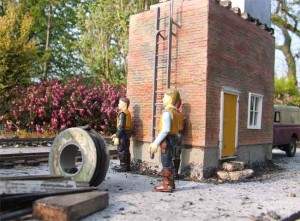
So apart from adding a few extra niceties like steps up to the door, finish off the edges of the building, paint the bricks to look a bit more realistic and stick the tank on properly, the hard work has been done and now the fun bit starts. A bit of tarting up and some ladders, hoses etc and it will be done. Most expensive thing was the box about £7. So this is what it looks like so far…..
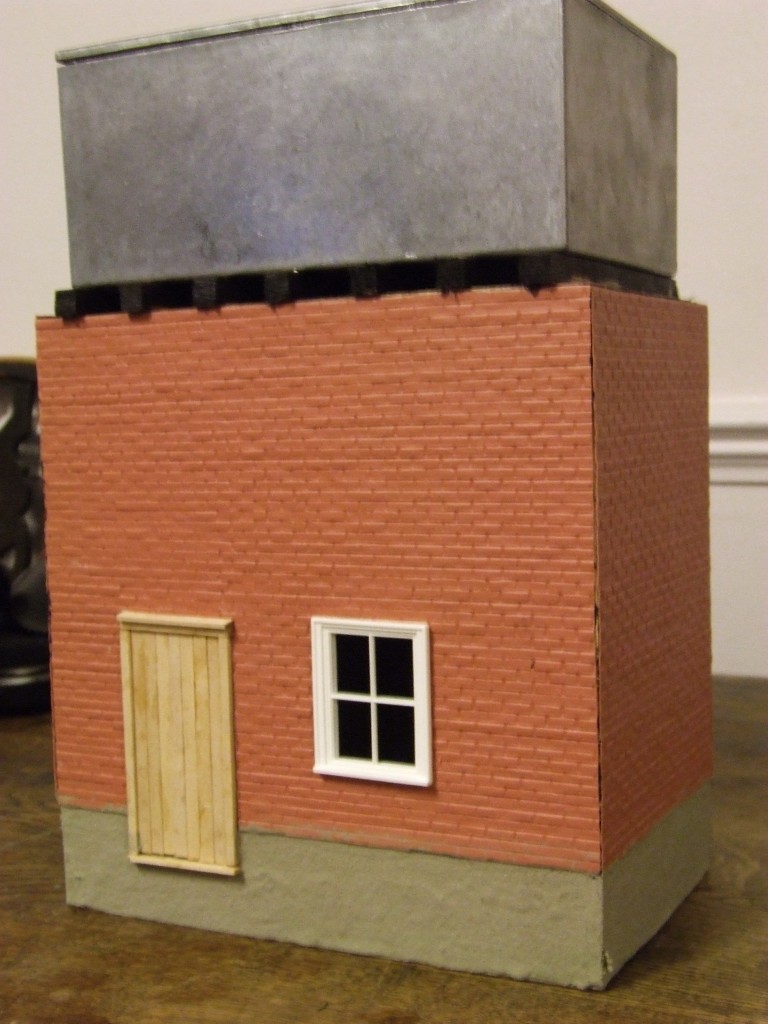 Not bad eh, for a couple of hours work!
The edges of the building where the sheets of bricks meet were annoying me and I had to have a good think on how to disguise it. I liked the finish of the tile cement on the bottom part of the building and and decided that a bit pushed into the gap might work plus a good bit of painting over the top. So I did this today and I am quite pleased with the effect, have a look.
I also used the same cement to finish round the top of the building where the sheets finish as some were not exactly in line with the wood! This worked much better because you could almost knife it in as the gaps were bigger and you could spread it over the roof easier.
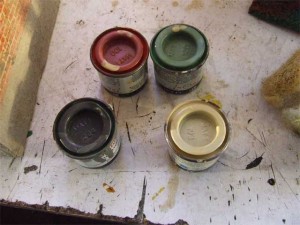
I used 4 paints this time. A pale cream colour for the ‘pointing’ was brushed on first and worked in ‘between’ the bricks, I then wiped over it before it dried with white spirit to remove the excess colour from the bricks themselves. then with a couple of small sponges a dabbed randomly over the bricks with a terracotta colour and before it dried a pale green and dark grey. I had found from another building that if you let it dry too much the colours don’t blend very well. It is very hard trying not make a pattern and so by the paint still being wet but not runny you can undo mistakes by rubbing over it and starting again. I was rather pleased with the effect. So the next picture is just the paints I used.
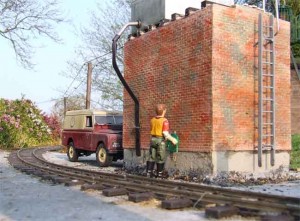
Having painted the walls, there really wasn’t an awful lot of things to do. Fitting the window was very easy, I had not realised that the window frame also had an inner frame with which you ‘sandwiched’ the ‘glass pane’ between so not only is it secure but it looks very realistic. The window was from ‘Jacksons Minatures’, I used the same ones with door for the cottage. The ladder I had made earlier fitted straight on as it was with just holes drilled to take the supports.
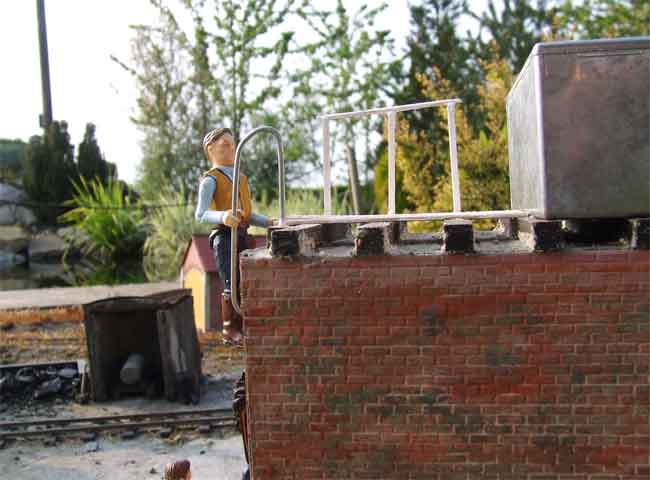
There had been a bit of a miscalculation when deciding on the size of the actual water tank originally, so a smaller tank was used in the end as it looked better balanced even though we had wanted to base our design on the South Tynedale’s own water tower. So to make use of the space next to the tank, a short section of duck boards were added and handrail, for that easy access to the tank for inspection purposes!
A few extra bits and pieces were added to ‘dress’ it up a bit and there we have it a new water tower. It may not be an exact copy of the prototype but we think it is good enough for the MPLR!
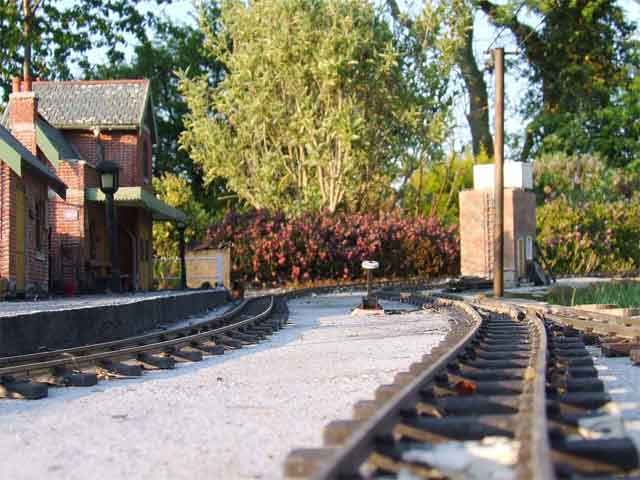
It’s funny but it seems fits in so well it seems to have always been there!
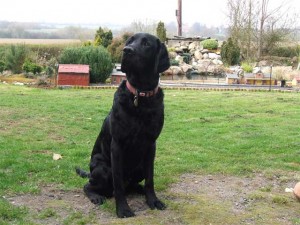
And all this because of one small dog, er rather large dog actually!
