Construction
Building of the MPLR begun in early April 2006. The ‘itch’ to build a garden railway was started by an old mate taking the management committee (the wife and I) to the Suffolk based Reydon Engineering Society’s open day on New Years Day. Fantastic.
From there a Mamod railway set was purchased from EBay. Too expensive and no good! But we had a lot of fun trying to get ‘Victor’ to run properly. His first run as a bog standard Mamod was spectacular, the silly solid fuel tablets were worse than useless, popping and depositing small burning lumps all over the lean-to floor. Upon raising steam, Victor shot around the short oval of Mamod track at ever increasing speeds until the laws of physics kicked in and he took off, depositing still more burning lumps and jets of steam. Great fun.
Shortly after this ‘Patrick’ was purchased and there was no stopping us!
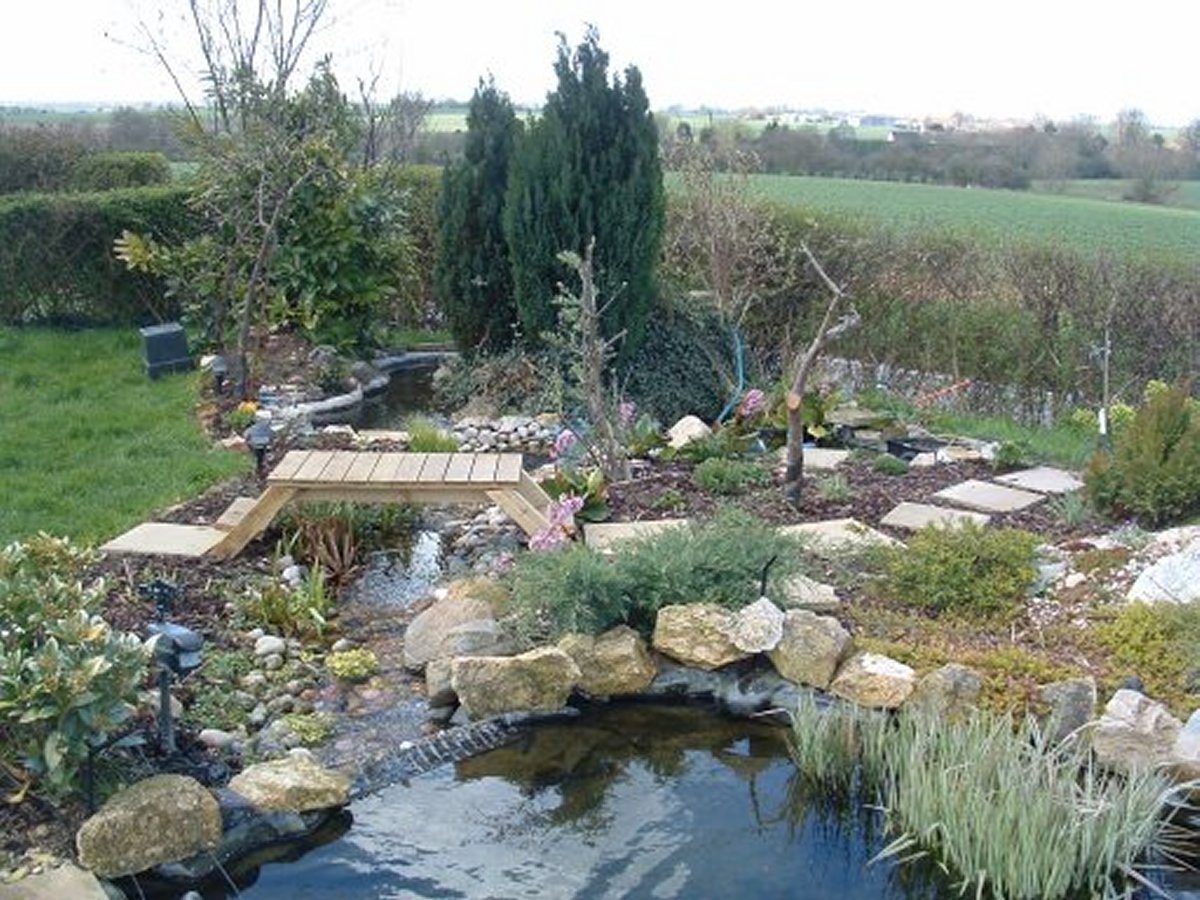
The ‘gravel pit’ in early 2005.
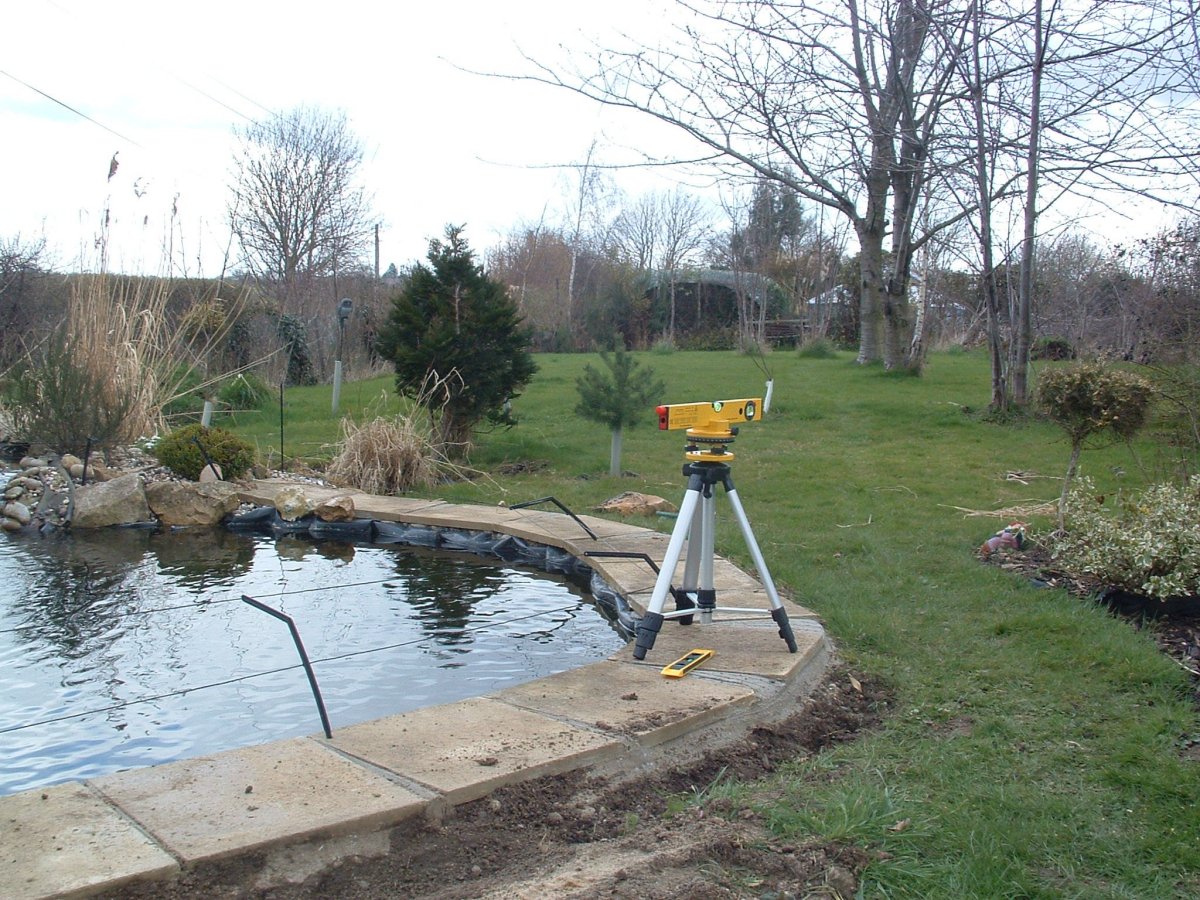
A laser level was used from a fixed datum point to ensure that the track bed would be level. It did not work. Great idea though. Still it did give me an excuse to fit radio control I suppose!
Chafford Gorge. This view shows the cutting. Large amounts of explosives had to be used to blast the way through the hillside. There was some discussion about driving a tunnel through the hill, but the managment decided that the expense involved was simply too great and as they had a couple of bangers left over from Guy Fawkes night, blasting a cutting was the cheapest option.
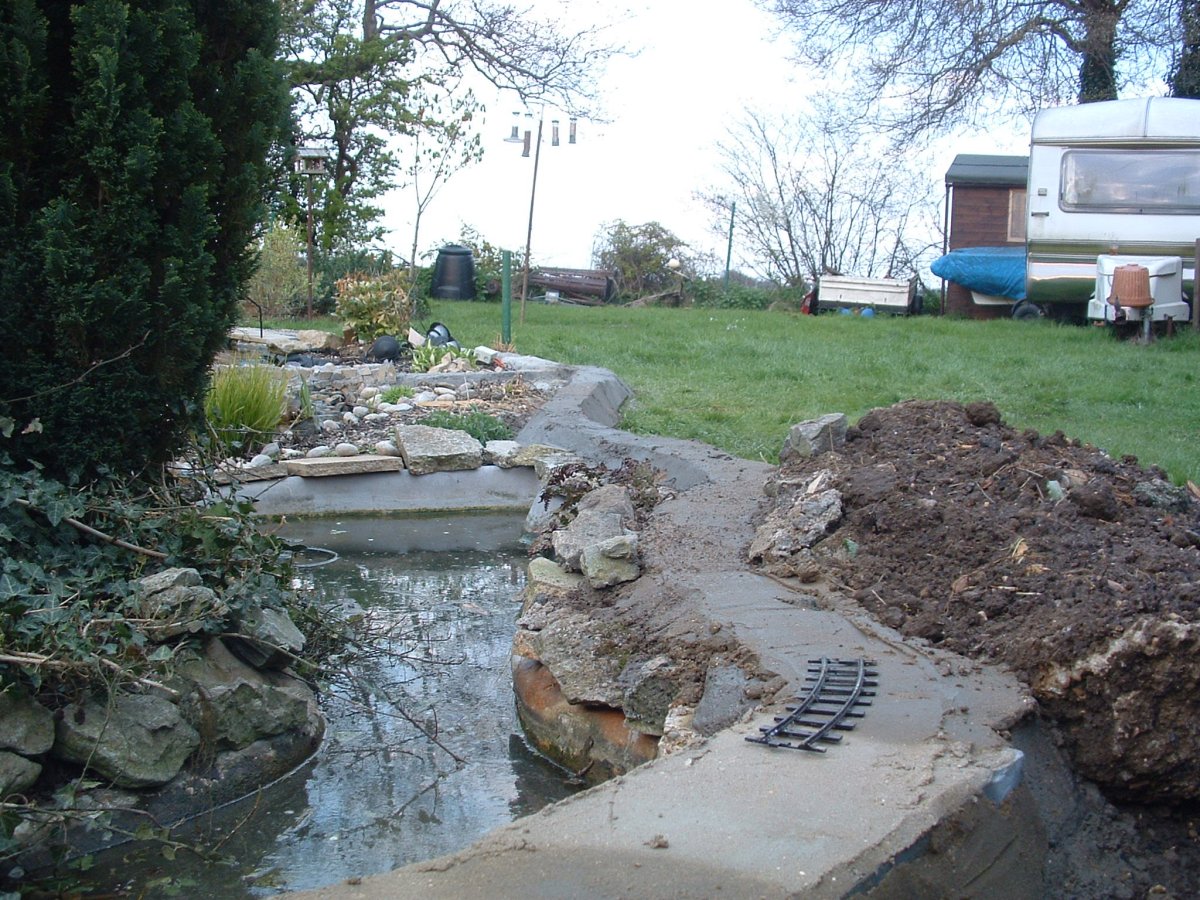
The very first section of track bed. 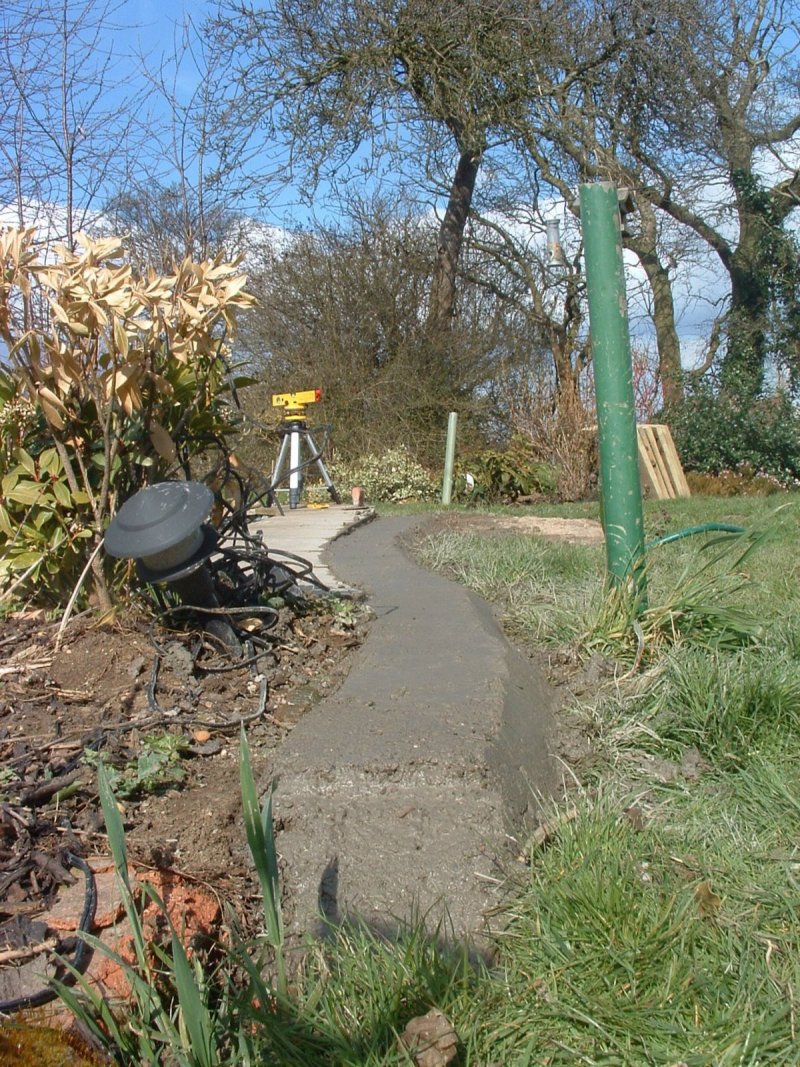
At this stage I was still convinced that the bed would be flat and level. As they say, a little knowlede can be a dangerous thing. Fellow enthusiasts have suggested other ways of ensuring a flat and level track, ranging from very expensive laser levels to water filled hosepipes. One really good thing about modelling British Narrow Gauge railways, is that very often the real thing was not that flat. Narrow gauge railways tended to follow the landscape rather than cut through it. Many lines were of a semi-permenant, or even temporary, nature. They had to be laid at minimum cost and as quickly as possible. The MPLR, therefore mimics proto-type practice and the gradients and ‘wobbly’ bits have nothing to do with the civil engineers stupidity.
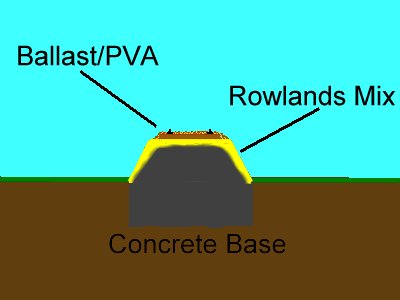
After extensive research (none at all) the management decided on a solid foundation for the track bed. Sitting on Essex Clay means that frost heave and soil creep are real problems here, also the activity of moles and other rodents dictates that any structures need to be as solid as possible. The Association of 16mm Modellers publish and give away FREE with new membership an excellent booklet that details a range of track bed options. The Concrete/Rowlands Mix method in the picture above and diagram below was the one settled upon
Rowlands Mix was invented (I think) by a member of the society and consists of cement, sharp sand and peat in ratios of 1:3:3 or there abouts. It is porous but fairly tough and is supposed to encourage the growth of moss and lichens (16mm grass). Watch this space!
After laying a lot of track and gaining experience all the time, the PW crew have trialled an alternative method. This conisists of a proto-typical track bed of granite chippings (horticultural grit) bonded together with a mix of cement dust and waterproof PVA glue. This seems to set into a really solid lump. How it responds to frost damage remains to be seen.
Check back here again for further details of the trials and tribulations of building 16mm garden railways:(
