The Adderbolt Arms
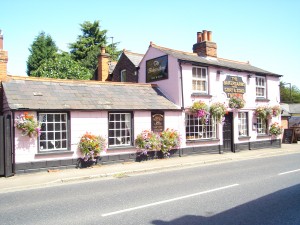
Ever since the first appearance of the Adderbolt Morris Men on the MPLR, a public house (pub) for them to dance at seemed to be an obvious thing to build. The problem has always been as to where it was going to go but now this has been decided and a nice piece of land in Lavender Hill has been allotted! Next came as to the design of the building itself. It had to fit into the surroundings and the area the railway is situated so after much research we decided on something similar to the Bakers Arms in Danbury.
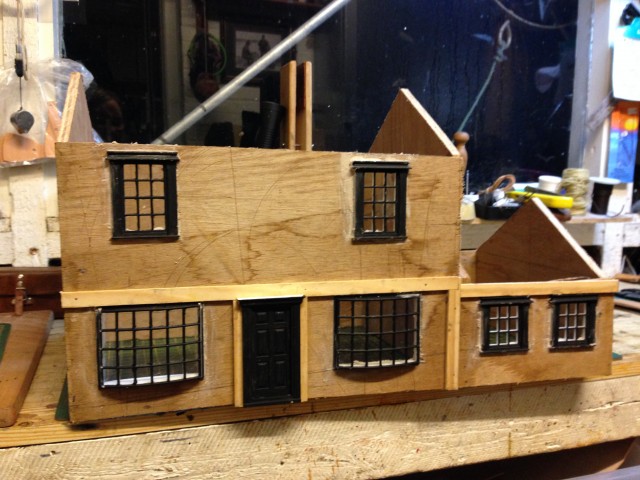
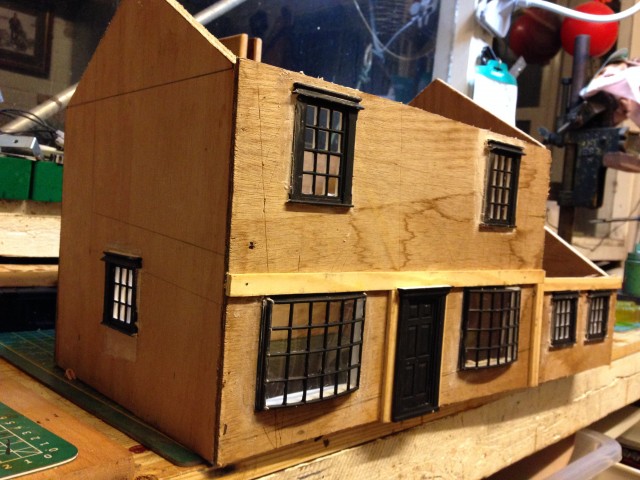
It is a Georgian building and it seemed suitable for what we wanted plus we had the added bonus of having got the bay windows already! So we drew up a design on the computer to the right proportions and sent off for more windows and doors. We did a bulk order for georgian windows and doors from www.jacksonsminiatures.com which arrived pretty quickly and set about cutting out the pieces in marine ply. As we have said before, all the buildings have a bit of a hard life in our garden and need to be sturdy and built to last, possibly even through the winter, same with this building. So, having cut out the pieces and holes for the windows to go in, the whole thing was glued and pinned together. Then, it was covered in Exterior PVA, it dries clear and is a good sealer, plus paint takes very well to it.
After glazing, it was decided to paint the window frames in black, the plastic needs to be painted as otherwise it gets subject to UV damage, goes yellow and brittle, painting makes it last longer. We like to use acrylic for this simply because it is easier to handle and goes on plastic better.
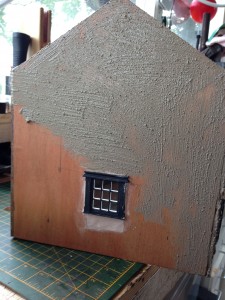
We always have a problem with glues and fixatives but this time we decided to use body filler (Isopon P38), we have used it in the past and it has worked well, plus of course it fills holes and gaps! The trick is to use sufficient hardener to go off but not too quickly to give time to work with it, small amounts being made up at a time. Sealing around the edges of the windows is important as we hope one day to illuminate it inside. The door is only glued onto the wood and so won’t open. A ‘patch’ under the side window is just visible where the wrong window size had been cut out and filled in with body filler.
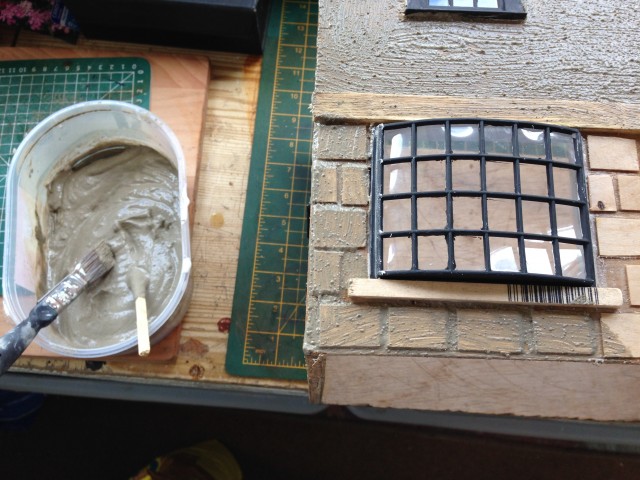
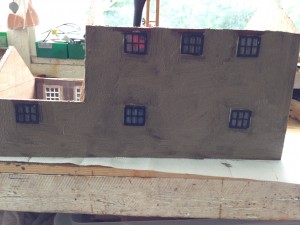
We wanted to ‘render’ the outside as it lasts for a long time and gives a good texture. We made up a mixture of sifted concrete powder, PVA and water until it was a thick brushable paste. Water was only really added to make it liquid enough to paint on and this was brushed on all over. It was painted on thinner over the ‘block’ patterning and the wooden planks.
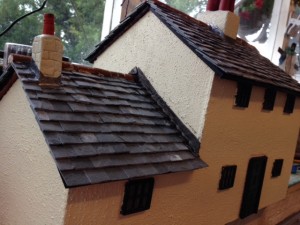
This is a bit of a messy job and it starts to go off quite quickly but just keep adding a little water to keep it brushable. The bottom picture may look like a prison but it is only the back!
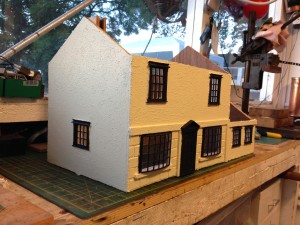
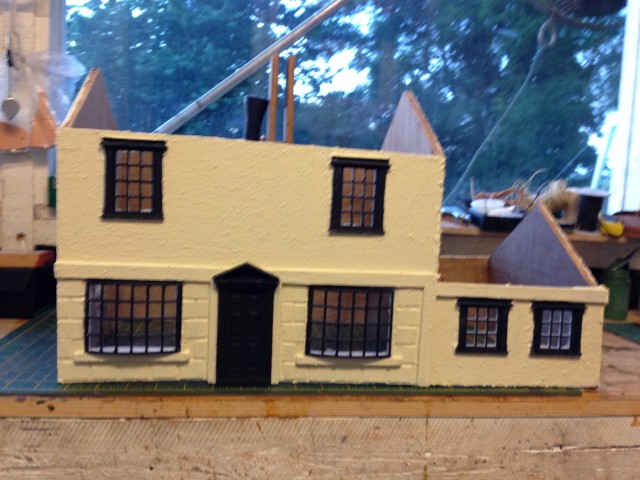
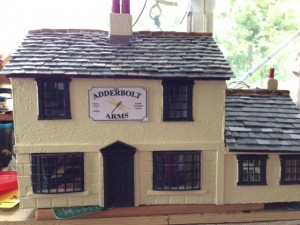
After this had a complete day to dry, it was time to paint it and we decided on Weathershield masonry paint in Buttermilk! B&Q do small tester pots but didn’t have the pink that we would have liked, unfortunately. It went on very well over the concrete base and we were very pleased with the results.
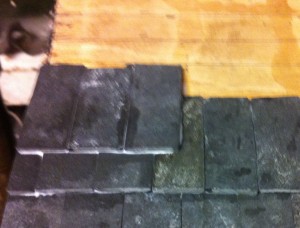
So, the pub needs a roof! Well, the only thing to do was obviosly slate tiles! Not an easy or quick job this but it had to be done. First cut your real life size slate tiles into tiny little tiles.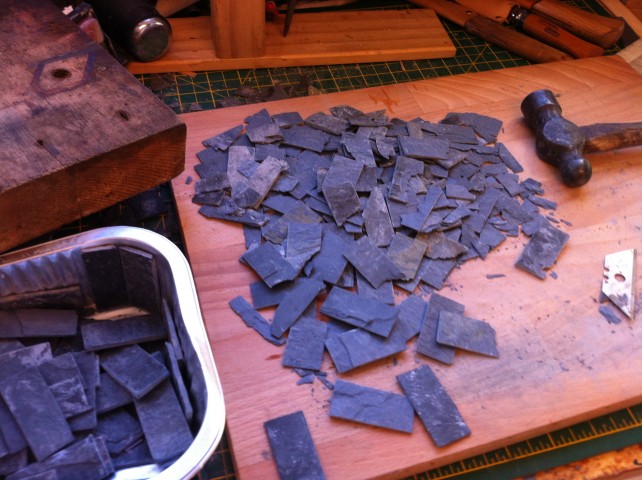
Yes, that was a floor tile that has been cut with a tile cutter to the right size and then split using a stanley blade and hammer! they can be split 3-4 times for each little tile so they end up approx 2mm thick. It is still slightly too thick but seems to work well when laid on a 1/3rd basis ie each layer of tiles are covering 2/3rds of the bottom layer of tiles.
They are stuck on with waterproof exterior PVA having already covered the whole roof area with PVA to seal the wood. It is also easier to do if the roof is almost horizontal because with each layerit gets heavier! Oh and to get the angle right so each tile is sitting on the wood and the lower tile make sure you place a strip of wood about the same thickness as the tiles and about 5mm or so from lowest edge of roof, you’ll need to experiment there before glueing.
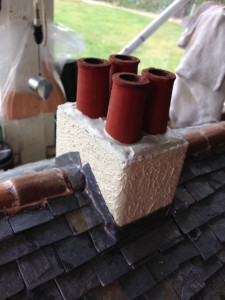
 don’t forget to think about where your chimneys are going to go, and don’t worry too much about how the edges round the chimneys are looking as you are going to cover that with lead flashing of course!
We did cheat rather as our tiles came out approx 1:12 and so we did buy in the ridge tiles and chimneys, looks fine using the 10ft rule though.
Nearly complete, all it needs now is a place at Lavender Hill, oh and the Adderbolt Morris Men!
